How to Use GitHub with Xcode 9.0
by Maihan Nijat
It is easy to use GitHub with Xcode 9.0 compared with the previous versions of Xcode. We have the choice to add GitHub through Terminal or Xcode (graphical interface). In this short tutorial, we use Xcode to setup GitHub on a sample project.
Prerequisites
GitHub account
Basic knowledge of GitHub. New users visit https://help.github.com to learn GitHub.
The tutorial explains:
- Create a new Xcode project and setup GitHub on it
- Create a repository on GitHub
- Adding a remote repository
- Create a new branch
- Check-out/ switch branch
- Commit changes
- Pull from a remote repository
- Push to a remote repository
Create a new Xcode project
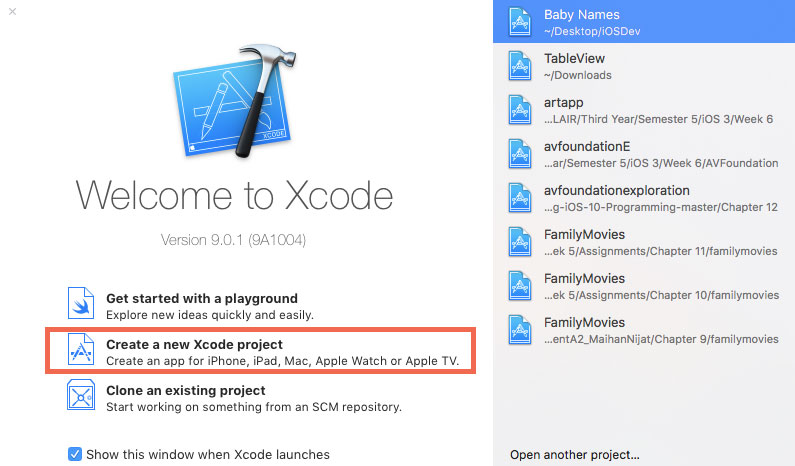
We start the example from scratch. Open your Xcode and click on Create a new Xcode project.
For simplicity, select iOS > Single View App (you can select other options) and click the Next button.

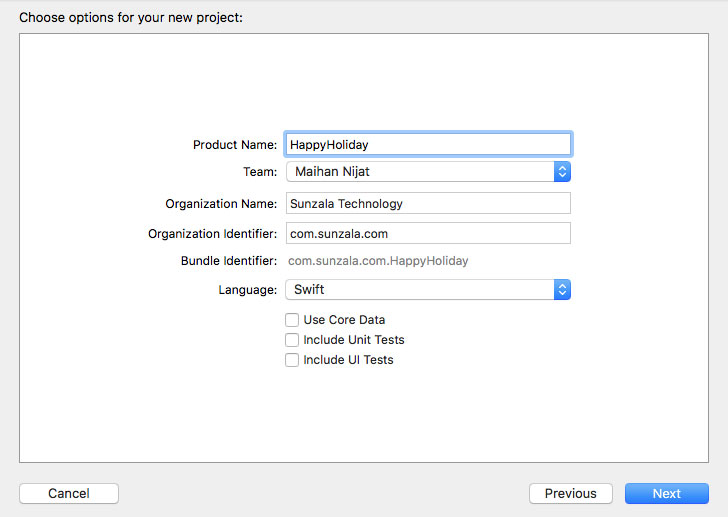
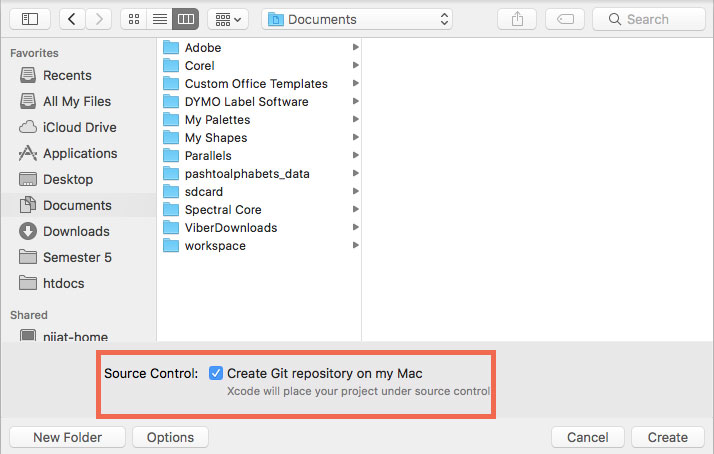
In the next window, enter Product Name, Team, Organization Name and Organization Identifier. Select your Language and other options necessary for you. Click the Next button and choose a location for your project to save. Make sure to enable Source Control: Create Git repository on my Mac. It will place your project under source control.
Create a repository on GitHub
Let’s create a GitHub repository before moving further. Go to github.com and sign in to your account. After successfully signed in, click on a New repository.

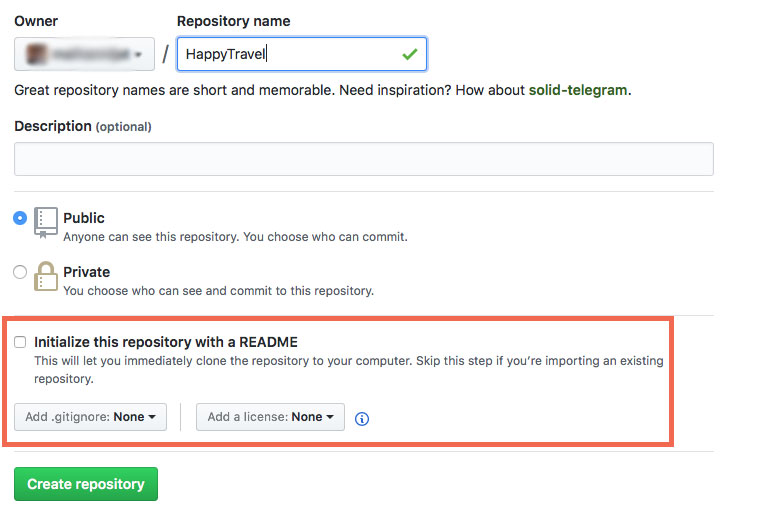
Enter a name for the repository and select the necessary options and do not create a README and a LICENSE files at this stage. Click Create repository button to finish creating GitHub repository and copy the HTTPS repository URL which appears on the next page after clicking Create repository.

Adding remote repository
This step requires a GitHub repository, and it’s valid URL which we covered in the above paragraph. Go to the Xcode project we created in the first step and click on Source Control button in Document Navigator (see the image below).

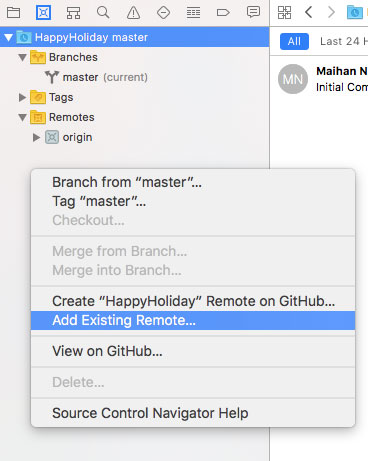
Right-click on the blue project directory, subdirectory or the gray area for a popup menu and click Add Existing Remote option.
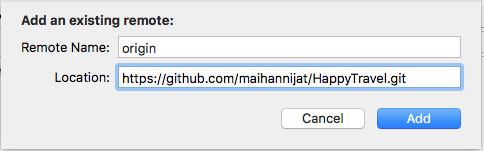
A box appears asking for Remote Name and Location. Type origin in the first field, paste the repository URL (HTTPS) in the second field and click the Add button.
The added remote repository appears under Remote.
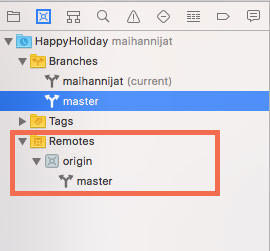
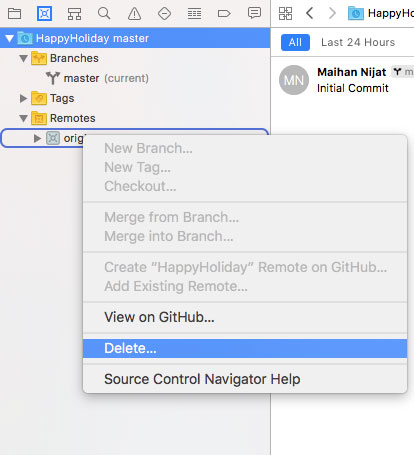
It is worth to mention a remote repository can be removed by clicking right on it and choose delete option from the menu.
Creating a new branch
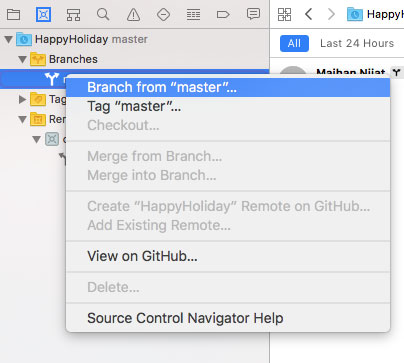
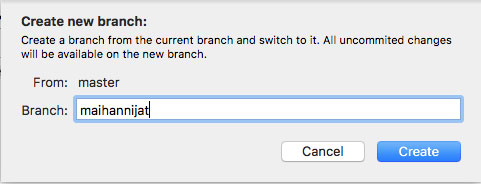
Right-click on master (current) branch under Branches and click on Branch from “master”. Enter a branch name in the box and click the Create button. The branch created and it has all the files cloned from the master branch.
Check-out/ switch branch
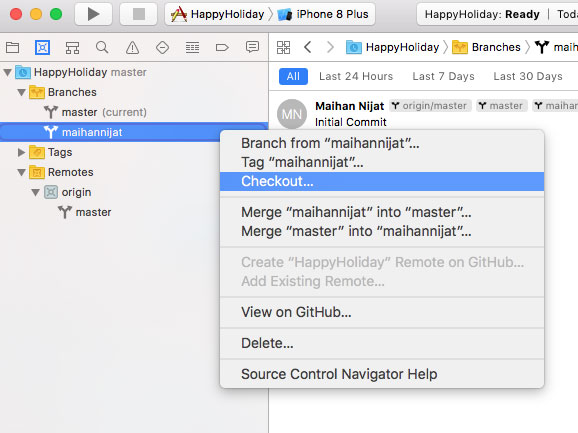
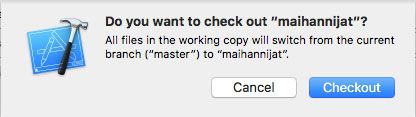
Right-click on a branch and click Checkout option in the menu. Click the Checkout button in the box which appeared to confirm the action.
Commit Changes
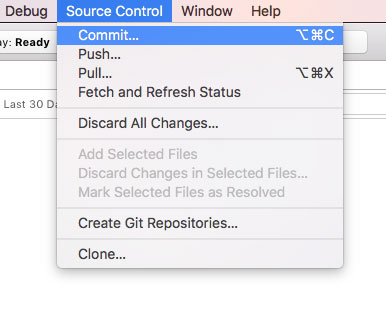
Go to Source Control menu and click on Commit.
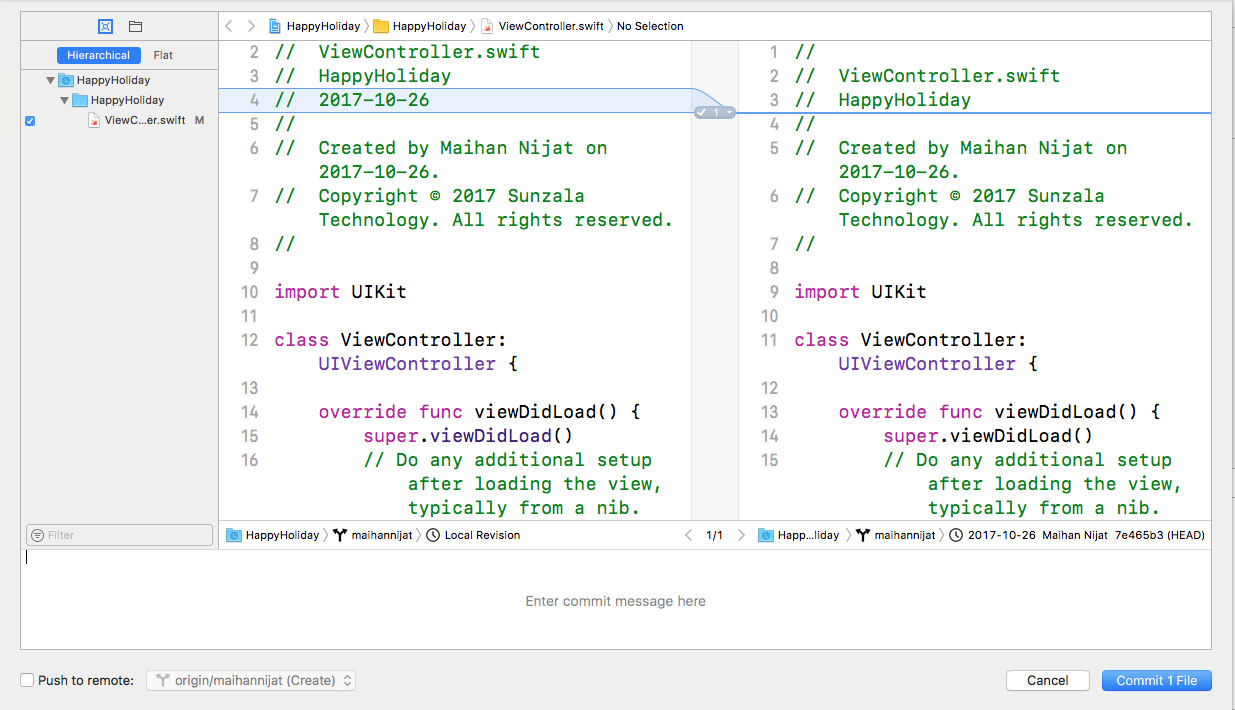
A box appears which shows added or modified files and input field to enter a message for a commit. Select the files for committing and enter a message, and click Commit files. Also, the box shows changes on files and allows pushing to a remote repository.
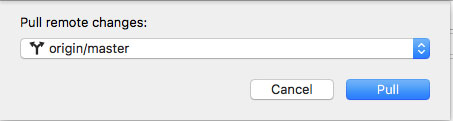
Pull from a remote repository
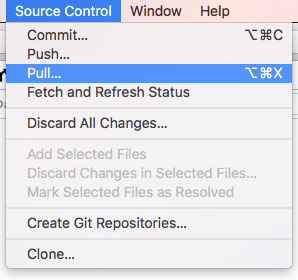
Make sure all changes are committed before Pull from a remote repository. Go to Source Control menu and click on Pull. In the box, select a remote repository and click Pull.
Push to a remote repository
Go to Source Control menu and click on Push. In the box, select a remote repository and click Push.
Recent Posts

Website Review of PrimeLift Pro Movers
February 12, 2026
Privacy Policy for Keyboard
April 22, 2024
How to fix the MAC question mark folder issue?
August 3, 2021